
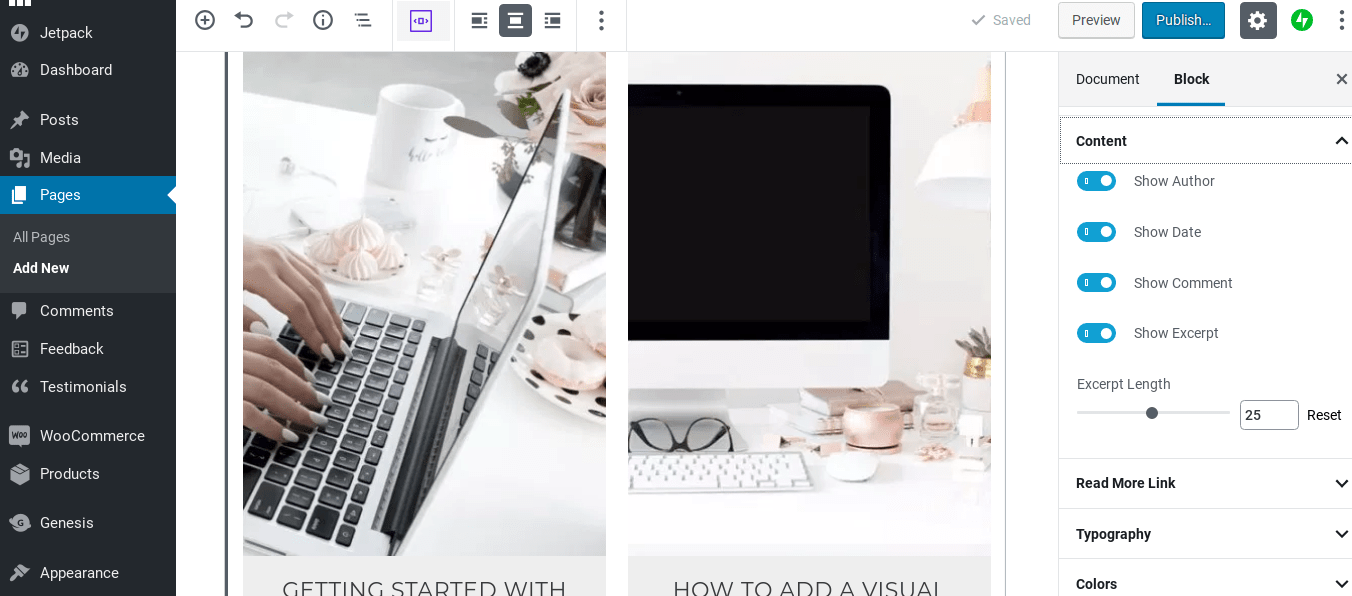
Pictures can increase engagement on your blog posts. People like to see color. When they see colorful images, they are more in the mood to read and finish the entire blog post. Before uploading the image, you will need to edit it for better optimization on your WordPress blog. Usually, the photos you post on WordPress blog, you will only do some basic editing.
The following are 8 basic image editing for photos used in WordPress blog:
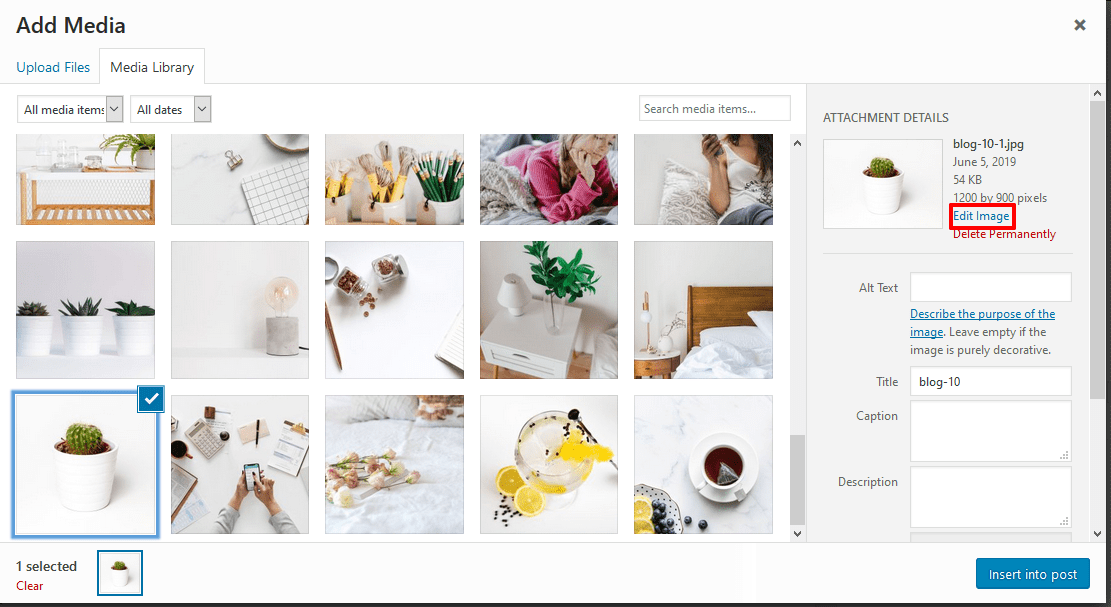
1. Resize the Photo
The most common editing for photos post on the WordPress blog is resizing an image. Often, the photo you want to use on your blog post has a large size. It will be sharp if you upload in large format, but it is going to slow down the page performance and take up a lot of space on your hosting. So, before uploading the photo to your post, you need to open it in a photo editor and scale the picture to just big enough for viewing in the blog post. When exporting the picture, it is best to export in a compressed format like JPEG. To reduce the image size, you can adjust the quality to 50% or optimized your WordPress images using tools.
2. Crop a Photo

Sometimes, you have to take a screenshot and post it in your blog. But, when you take the screenshot, it includes the browser window and other applications on your desktop. You can prevent people from seeing them by cropping the picture to only the part you need. You’ll like to see the best website screenshot tools.
3. Colorize a Black and White Photo
You may be interested in a black and white photo but would like to use it in the colorized version. This is an easy problem that can be fixed by using a colorization tool in a photo editor. Many basic photo editors now have this feature. There is no need to follow complicated steps to learn how to colorize a black and white photo.
You press a single button, and the black and white photo will automatically be generated in the colorized version. The built-in algorithm will color the picture to look realistic. Another way to colorize a black and white photo is to use the color picker tool to choose the color from a relevant picture and use it to color the same areas on the black and white photo. You can also adjust the hue and saturation sliders to colorize the black and white photo.
4. Rotate a Crooked Photo
When you take a photo, you didn’t hold the camera evenly, and it results in a crooked picture. Or, you hold the camera incorrectly, and the picture comes out not in the orientation you want. In many photo editors, there is the angle tool which allows you to adjust the orientation of the picture to even. It can fix a photo that is off the 180-degree straight line. You drag the slider until the photo is even again. You can also use the flip tool to flip the photo vertically or horizontally.
5. Remove Grains in Photo
The photo you take looks grainy – this is a common problem that can be fixed by using denoise software. The denoise software has various denoise filters that can remove the grainy pixels at different intensity level. It is also suitable for photographers who want to add some grainy details to the photos to make them look professional.
6. Sharpen an Image
You can use a sharpening tool to sharpen the photo if the photo you want to use on your blog post appears blurry. The sharpen tool will remove the fuzziness in the picture so that more details can be observed. It works for blurriness on photo caused by too much shaking of the camera.
7. Remove Unwanted Elements from Photo
In the photo, there are some objects that you don’t want people to see. You can use a photo editor with an object removal tool to remove the unwanted elements. For beginners, it is recommended to use a basic photo editor with an object removal tool that only requires you to highlight the unwanted objects and press a single erase button to erase it away. Another method is to clone stamp away from the unwanted elements in the photo. You can also use a crop tool to crop the photo to only the part that you want to use.
8. Change your Photo Background
You take a photo but the background isn’t nice. This can be fixed by deleting the background and replacing it with another background. You will need to use a photo editor with a background removal tool. Like the object removal tool, you must use a brush tool to highlight the unwanted background. After that, select a new image from your computer to use as the background of the photo. The background removal tool is great for creating a fantasy background for an object you take with your camera.
Wrapping Up
To wrap it all up, these are the ultimate guide on how to edit WordPress images and photos on blog before publishing. Hope this article helps you to edit and optimize your WordPress blog image. For more other informative articles, you might like to read:
- Best Blogging Sites & Platform (2018) – Create Your Own Blog
- 12 Sources for Free Public Domain and GPL-Licensed Images
Follow us on Facebook and Twitter and also don’t forget to give your feedback 🙂
2 thoughts on “Guide on How to Edit Images/Photos on WordPress Blog”